
Showing posts with label flying tank. Show all posts
Showing posts with label flying tank. Show all posts
Sunday, October 4, 2015

Wednesday, August 26, 2015
Ma.K Falke Part 15--The End (Sort Of...)

The Falke is finsished!

The weathering was started with an an oil wash of the panel lines...

...followed by oil filters to darken certain panels. I also used oils to make oil stains and grime, which is particularly workable after the flat coat.
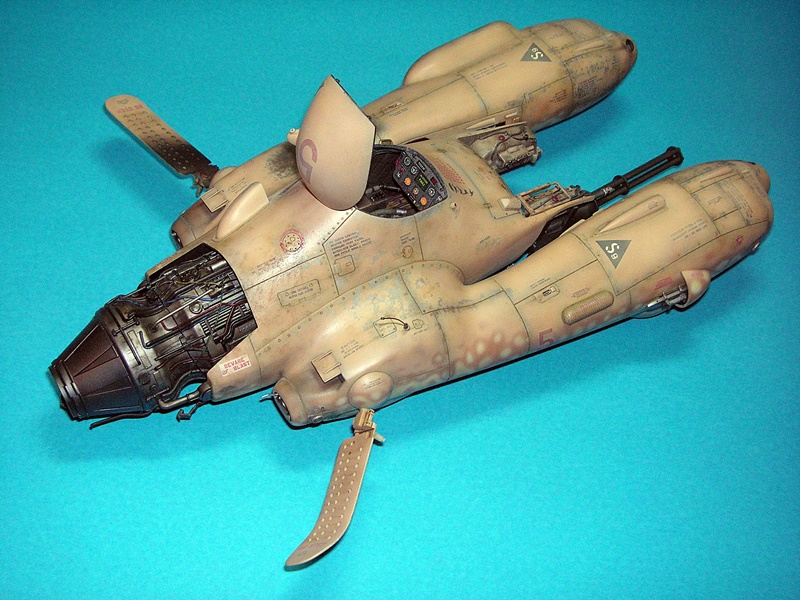
Pastels were used to dirty the model further, sun-fade the upper surfaces, make smoke stains, etc.
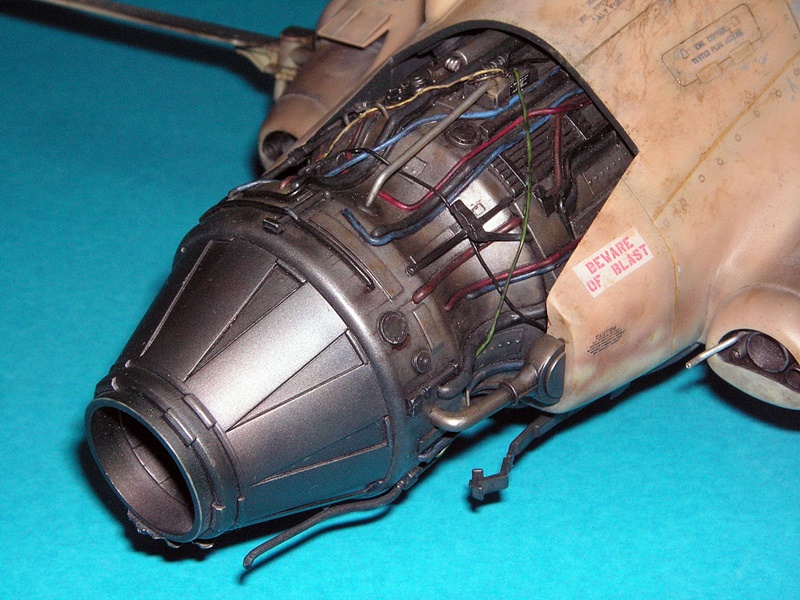
The engine got some further weathering with brown oils to bring it in line with the rest of the model and make the overall look more consistent.

With those kind of holes in the skin that guy ain't gonna fly again any time soon!

A good view of the camo.

In addition to the oils I used AK Fuel Stains to make...well, fuel stains.

Chipping was a major step in creating the beat-up, battle-weary look I wanted. Using different shades and tones of metal paint and working the areas over with pastels and oils helps make it look more realistic.
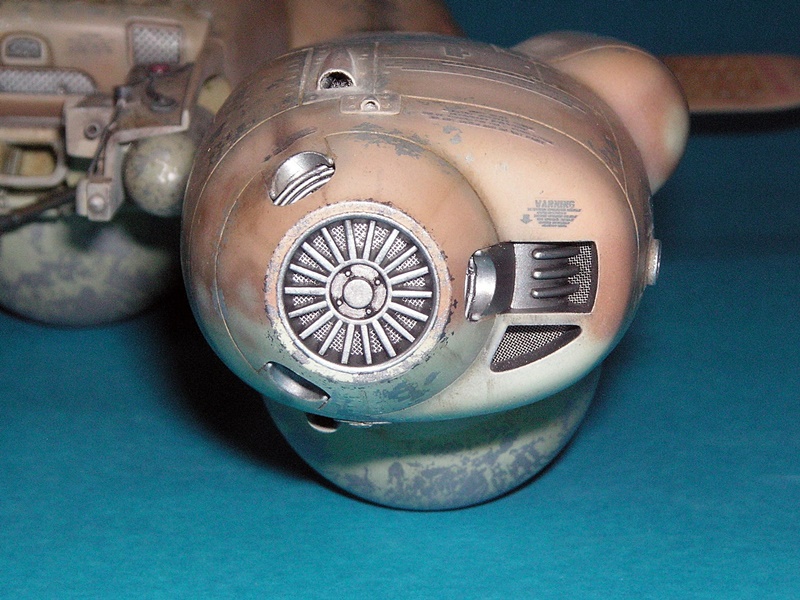
Those filter details were worth the effort, I think.

That gat won't shoot no more!

The fire damage and smoke stains are faithfully reproduced from pics of a real shot-down Falke. LOL

The inside of the hatch cover is very visible.

And so is the inside of the pit thanks to the large opening.

Modelers have to get down and dirty!

Nobody wants to see that in his 6 O'clock! Wicked.

Here is how the dinosaur kill marks came about: I wanted to create stylized icons for each category of Ma.K vehicle: hovering tank, flying tank, drone, walker, etc. Call it laziness but I soon decided to take a shortcut and use something already in existence, which is when I remembered the way Meng have their kits categorized on their site. From there it was quick work to find stylized dinosaur pics on the Internet. If you look closely you'll be able to tell which dino represents which type of Ma.K hardware.
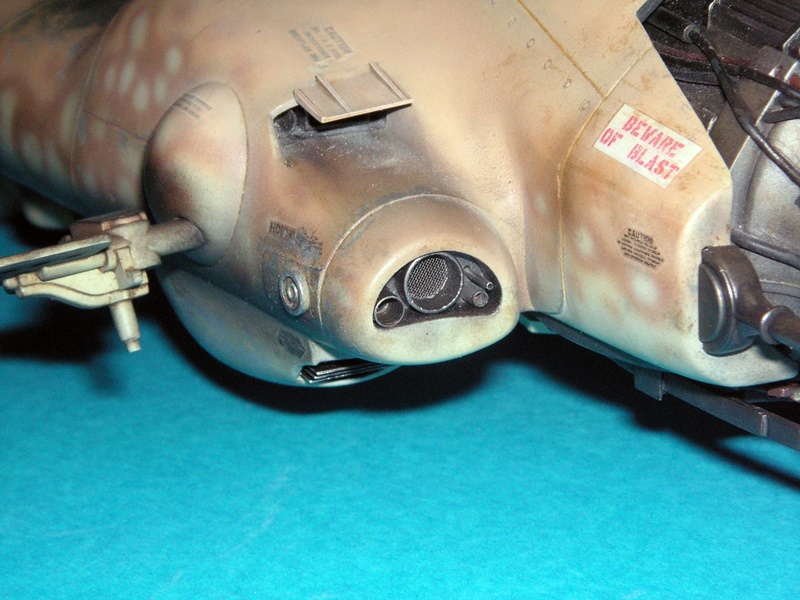
Rear details.

Some more pics of the pit.

Wednesday, August 19, 2015
Ma.K Falke Part 14--Marked For Life

For the decaling I used a mix of the kits decals and some others I had done for me by LM Decals.

This is because the kit's stencils are a bit of a letdown so I had them redone to my own specifications.

As is usual when freshly applied the decals are much too flashy, as you can see on this pic, so I weathered them a good deal.

First step: soften the decals with Micro Sol and sand them with 1500 grade sandpaper. This gives a randomly faded look. The difference can be seen between the weathered left side and untouched right side on this pic.

Second step: spray a light mist of the base color over the decals to further fade them and blend them in.

The result is faded-looking stencils and markings.

Friday, May 29, 2015
Ma.K Falke Part 13--The Lizard Falcon
The finished camo. The third color is Gunze RLM 79 Sandy Brown.


Tuesday, May 26, 2015
Ma.K Falke Part 12--Prime Time
 Time for painting, starting with a coat of Mr. Surfacer 1200 primer.
This was followed by a metallic undercoat in view of the chipping effect in strategic areas: where pilot and maintenance crew step, along panel edges...

...and especially on the antigrav pods which double as emergency landing gear.

Next liquid masking medium applied in said areas.

Last step before the camo: pre-shading with olive drab (Gunze).

The underside received a coat of Gunze RAF Sky.

The top side was sprayed with a mix of Vallejo Iraqui Sand and Tan Yellow.
There'll be one more color to the camo.
Sunday, May 24, 2015
Ma.K Falke Part 11--Close That Hatch!
Next came the last area in need of detailing: the inside of the hatch cover.

I used the AirScale 1/24 "Cockpit Details" fret for the instruments, switches, etc.

Most parts were glued onto pieces from a styrene sheet to give them a more 3 dimensional look.

Bits of wire for the cabling, as usual.

The AirScale photoetch has really nice detail.

On to the painting.

Some decals for the dials and a piece of styrene rod for the button really help bring the instrument face to life.

After the washes, dry-brushing and weathering with pastels.


I used the AirScale 1/24 "Cockpit Details" fret for the instruments, switches, etc.

Most parts were glued onto pieces from a styrene sheet to give them a more 3 dimensional look.

Bits of wire for the cabling, as usual.

The AirScale photoetch has really nice detail.

On to the painting.

Some decals for the dials and a piece of styrene rod for the button really help bring the instrument face to life.

After the washes, dry-brushing and weathering with pastels.


Subscribe to:
Posts (Atom)