
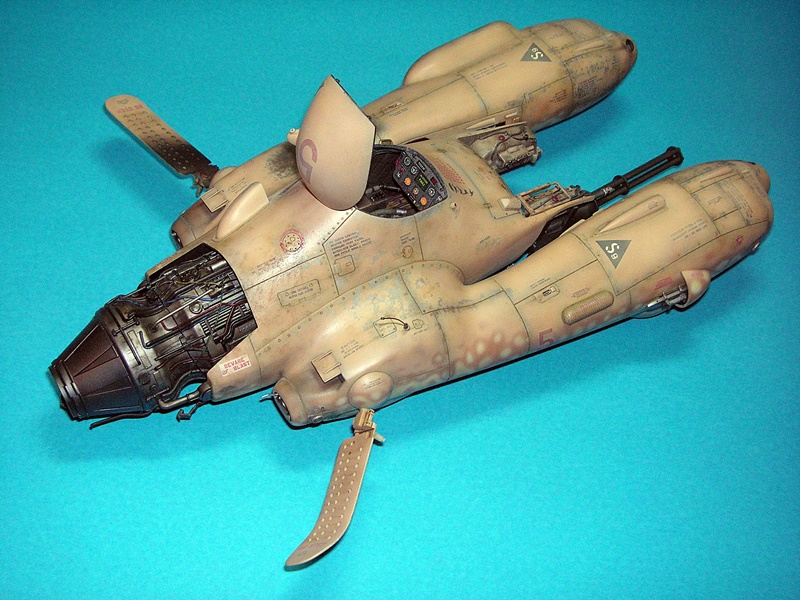
The Falke is finsished!

The weathering was started with an an oil wash of the panel lines...

...followed by oil filters to darken certain panels. I also used oils to make oil stains and grime, which is particularly workable after the flat coat.
Pastels were used to dirty the model further, sun-fade the upper surfaces, make smoke stains, etc.
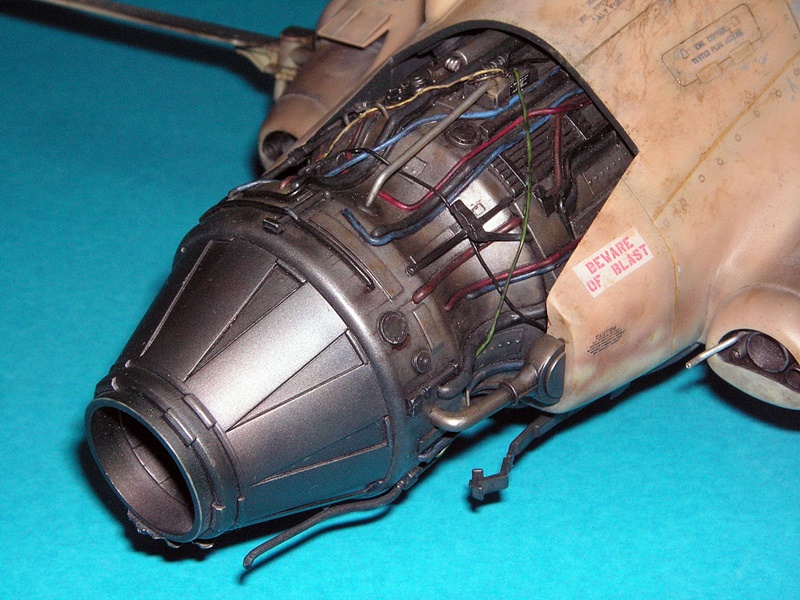
The engine got some further weathering with brown oils to bring it in line with the rest of the model and make the overall look more consistent.

With those kind of holes in the skin that guy ain't gonna fly again any time soon!

A good view of the camo.

In addition to the oils I used AK Fuel Stains to make...well, fuel stains.

Chipping was a major step in creating the beat-up, battle-weary look I wanted. Using different shades and tones of metal paint and working the areas over with pastels and oils helps make it look more realistic.
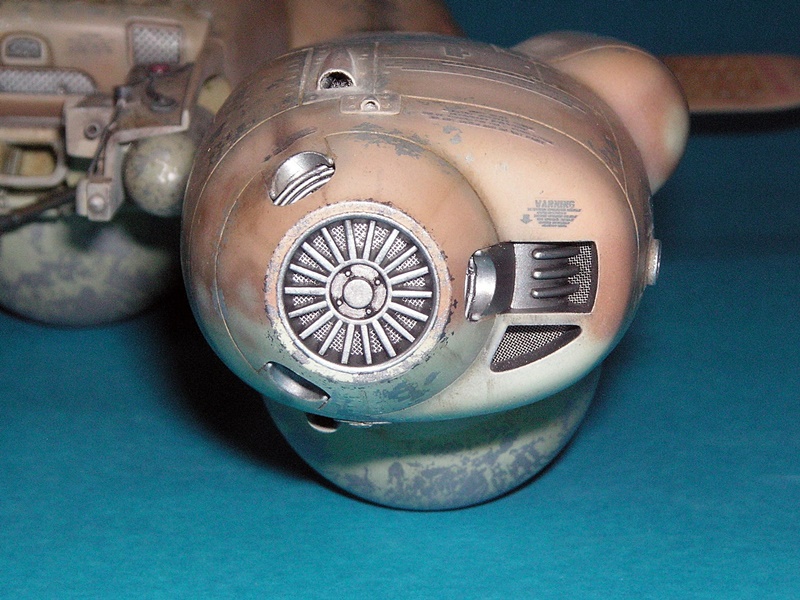
Those filter details were worth the effort, I think.

That gat won't shoot no more!

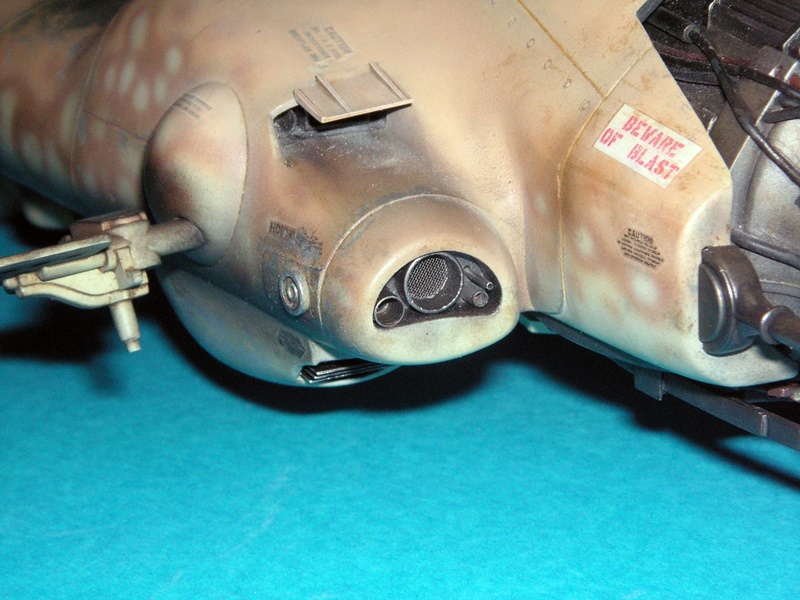
The fire damage and smoke stains are faithfully reproduced from pics of a real shot-down Falke. LOL

The inside of the hatch cover is very visible.

And so is the inside of the pit thanks to the large opening.

Modelers have to get down and dirty!

Nobody wants to see that in his 6 O'clock! Wicked.

Here is how the dinosaur kill marks came about: I wanted to create stylized icons for each category of Ma.K vehicle: hovering tank, flying tank, drone, walker, etc. Call it laziness but I soon decided to take a shortcut and use something already in existence, which is when I remembered the way Meng have their kits categorized on their site. From there it was quick work to find stylized dinosaur pics on the Internet. If you look closely you'll be able to tell which dino represents which type of Ma.K hardware.
Rear details.

Some more pics of the pit.


