Tuesday, May 26, 2015

Ma.K Falke Part 12--Prime Time

Time for painting, starting with a coat of Mr. Surfacer 1200 primer.


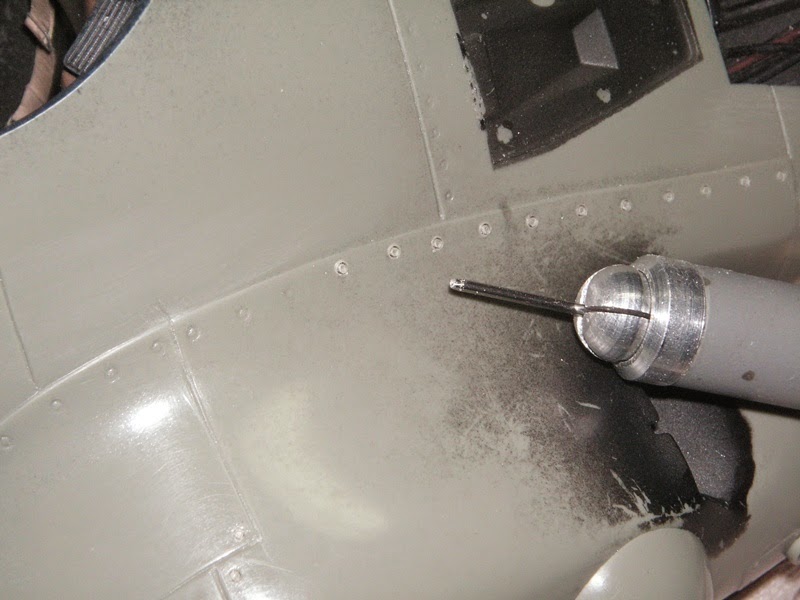
This was followed by a metallic undercoat in view of the chipping effect in strategic areas: where pilot and maintenance crew step, along panel edges...


...and especially on the antigrav pods which double as emergency landing gear.


Next liquid masking medium applied in said areas.


Last step before the camo: pre-shading with olive drab (Gunze).

The underside received a coat of Gunze RAF Sky.


The top side was sprayed with a mix of Vallejo Iraqui Sand and Tan Yellow.

There'll be one more color to the camo. 

Sunday, May 24, 2015

Ma.K Falke Part 11--Close That Hatch!

Next came the last area in need of detailing: the inside of the hatch cover.


I used the AirScale 1/24 "Cockpit Details" fret for the instruments, switches, etc.


Most parts were glued onto pieces from a styrene sheet to give them a more 3 dimensional look.


Bits of wire for the cabling, as usual.


The AirScale photoetch has really nice detail.


On to the painting.


Some decals for the dials and a piece of styrene rod for the button really help bring the instrument face to life.


After the washes, dry-brushing and weathering with pastels.


Tuesday, May 19, 2015

Ma.K Falke Part 10--Kilroy Was Here


Last family shot before assembly.


Inside of booms detail.


Kilroy was here, all is well, we can button up!


Well, almost. Just before assembling the fuse parts I realized there was a visible gap behind the pilot seat.


So I made a firewall with some stock material.


Much better!


After assembly came the tedious work of filling, sanding and re-scribing. Some of the kit's panel lines and rivets had to be entirely re-scribed as they were far too shallow.


For the big rivets I used a hypo needle cut straight with its edge filed to a sharp edge. Works like a charm.

Friday, May 15, 2015

Ma.K Falke Part 9--Shot Down

This Falke was shot down and the signs of what happened had to be there.


I used as a reference pics of tanks holed by anti-tank guns. I didn't go for the shredded look of mauled aircraft. After all, the Falke is an armored flying tank so I tried to replicate the pierced armor effect.


First I used a drill bit and diamond point to make the holes.

I used a red hot needle to make the grooves of melted metal. I used a windproof lighter to heat the needle rather than a candle to avoid soot getting all over the place.


Lastly I used some styrene melted with lacquer thinner (I always have a jar of it at the ready) to make the lip of melted metal around the hole.


The final result.

Wednesday, May 13, 2015

Ma.K Falke Part 8--Ins and Outs

The Falke has many intakes and exhausts and vents that needed detailing. Some had to be opened up and all of them had to be blocked or filled in some way.


Boom intakes detailed with copper wire.

Mesh from tea bags make excellent air filters.


Desert Falcons have many air filters.


The exhausts received a similar treatment.


Louvers were made with aluminum foil.


Stock photoetch grille came in handy here.
 

Sunday, May 10, 2015

Ma.K Falke Part 7--Engine Run

The engine was rather bare so I added detail with solder and various odds and ends from the scrap box.


The damaged nozzle petal was done with a piece of alumimum

Furnace tape comes in handy to add detail and make fasteners for the pipes.

Painting was done with Model Master Metalizers and detailing with Vallejos.

Weathering done by postshading black, washing with acrylic washes and adding streaks of oil paints.

The  burnt metal effect on the nozzle was done by over spraying highly thinned clear acrylics (blues, reds and yellows).